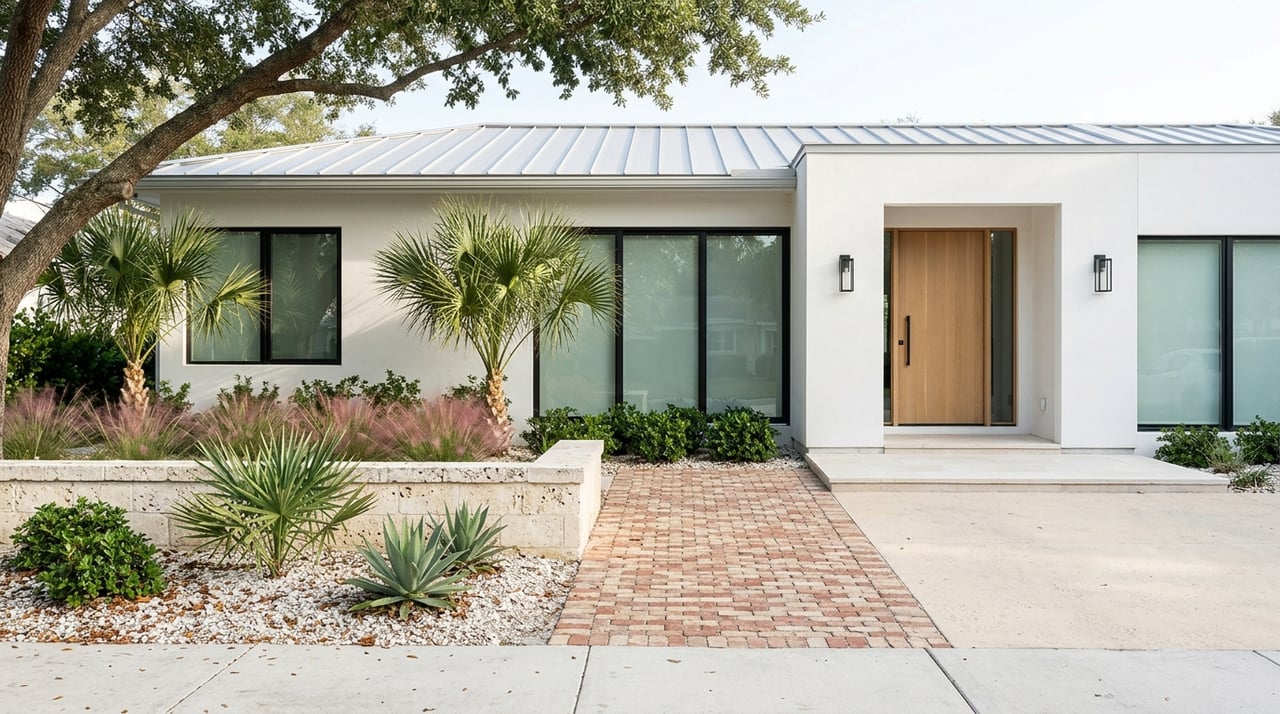
Buying new construction in Nocatee is exciting, but it also comes with lots of moving parts. You want to catch issues early, keep everything on track, and feel confident on closing day. With a clear checklist for both the pre‑drywall and final walkthrough, you can document what matters and keep your builder accountable. This guide gives you step‑by‑step checklists, local tips for St. Johns County, and a simple plan for remote buyers. Let’s dive in.
Why walkthroughs matter in Nocatee
Nocatee is a master‑planned community in St. Johns County with several builders, each with different processes and warranties. Your walkthroughs help verify that the home aligns with your contract and that hidden components are installed correctly. In Florida’s coastal environment, details like hurricane ties, window flashing, termite treatment, and drainage matter a lot for long‑term performance. Your buyer’s agent can also pull St. Johns County permit and inspection logs and confirm the final Certificate of Occupancy before you move in.
Local items to confirm early:
- Builder name, construction timeline, and warranty coverage terms in writing.
- Permit and rough‑in inspection records from the St. Johns County Building Division.
- Florida Building Code requirements for impact‑rated openings, roof tie‑downs, and hurricane straps.
- Proof of termite pretreatment or bond, and irrigation backflow protection.
- HOA/CDD guidelines for exterior finishes, landscaping, fencing, and irrigation.
Pre‑drywall walkthrough: your goals
The pre‑drywall walkthrough happens after framing, roof deck, windows, and rough‑in MEP systems are in, but before insulation and drywall. Your goal is to document anything that will be hidden later and confirm layout, locations, and installation quality. You want clear photos, video, and a punch‑list the builder can resolve before the walls close.
Who should attend
- You and your buyer’s agent.
- The builder’s superintendent or site supervisor.
- An independent inspector experienced with new construction.
- If you are remote, your agent should attend with live video and record everything.
What to request before you arrive
- Permit and rough‑in inspection results for framing, electrical, plumbing, and HVAC.
- Subcontractor signoffs if available.
- A copy of the electrical and low‑voltage plan to confirm outlet, switch, and data locations.
Pre‑drywall checklist
- Framing and structure
- Check lumber quality and spacing for studs, joists, and headers.
- Confirm blocking where you plan heavy loads like TVs or cabinetry.
- Look for damaged or bowed members and verify hurricane ties at roof‑to‑wall areas.
- Roof and flashing
- Verify roof decking and underlayment installation.
- Inspect flashing at penetrations, valleys, and roof‑to‑wall intersections.
- Sheathing, windows, and weatherproofing
- Confirm house wrap or WRB has proper overlaps and taped seams.
- Verify window and door installs are level and plumb with correct sill flashing and shims.
- Check seals around penetrations like vents and exhausts.
- Plumbing rough‑in
- Confirm pipe support, layout, and access points.
- Check visible slopes on drains and watch for any leaks.
- Note exterior hose bibs, irrigation stub‑outs, water meter and main shutoff locations.
- Electrical rough‑in
- Verify box locations match the plan and mounting heights are consistent.
- Ensure neat routing and protection for wiring, with GFCI/AFCI locations identified.
- Confirm exterior outlets and key switch placements.
- HVAC rough‑in
- Check duct routes, sealed seams, and alignment with register openings.
- Confirm return locations and accessible filter locations.
- Note the exterior condenser pad location and clearances.
- Insulation prep and fireblocking
- Verify firestopping in concealed spaces and proper blocking around chases.
- Confirm attic access and chase locations.
- Mechanical penetrations
- Check that penetrations are sealed for air and pest control.
- Verify proper vent terminations for exhausts and water heater if applicable.
- Site grading and drainage
- Confirm rough grading moves water away from the foundation.
- Document any ponding or misdirected runoff.
Tests to request and record
- Pressurize plumbing to show no visible leaks at joints.
- Power to the main electrical panel with labeled circuits where available.
- HVAC blower operation if energized and visible duct connections.
- Close‑ups of framing intersections, hurricane straps, and any flagged issues.
Red flags to watch
- Poor window flashing or gaps at penetrations.
- Loose sheathing, inconsistent framing, or components not matching plan.
- Drain lines without proper slope or unsupported spans.
- Crushed or unsecured HVAC ducts.
- Missing hurricane straps at required locations.
Final walkthrough: goals and timing
Your final walkthrough confirms that the finished home matches the contract and that earlier punch‑list items are resolved. It is usually scheduled within days of closing, and closer is better so items are less likely to be damaged again. Bring your agent, the builder’s superintendent, and consider an independent final inspection for added assurance.
Documents to get at the final walkthrough:
- Final Certificate of Occupancy from St. Johns County.
- Final permit closeout and inspection signoffs.
- Builder’s punch‑list report with target completion dates.
- Warranty documents, appliance manuals, model and serial numbers, and warranty start dates.
Final walkthrough checklist: interior systems
- HVAC
- Run in heat and cool modes, confirm airflow at each register.
- Verify thermostat operation and clear condensate lines and pan.
- Plumbing
- Test hot and cold water at every fixture and check under sinks for leaks.
- Flush toilets and confirm quiet refill, run tubs and showers, check pressure and hot‑water delivery time.
- Electrical
- Test every outlet and light switch, verify GFCI trips and resets.
- Confirm doorbells, garage door opener operation, and exterior lighting.
- Appliances
- Operate oven, cooktop, microwave, and dishwasher.
- Confirm washer and dryer hookups and disposal function. Record model and serial numbers.
- Doors and windows
- Open and close all, confirm locks and latches, check weatherstripping and thresholds.
- Floors, walls, and ceilings
- Look for scratches, dents, nail pops, and drywall seams needing touchups.
- Cabinets and counters
- Check door alignment, drawer glides, sealed sink edges, and smooth countertop seams.
- Paint and trim
- Confirm consistent color and sheen, inspect caulking at baseboards and trim.
- Attic and insulation
- Verify access, insulation depth where visible, and sealed penetrations.
Interior safety and code items
- Smoke and carbon monoxide detectors present and operational.
- Secure handrails and guardrails.
- Tread and riser conditions appear safe on stairs and landings.
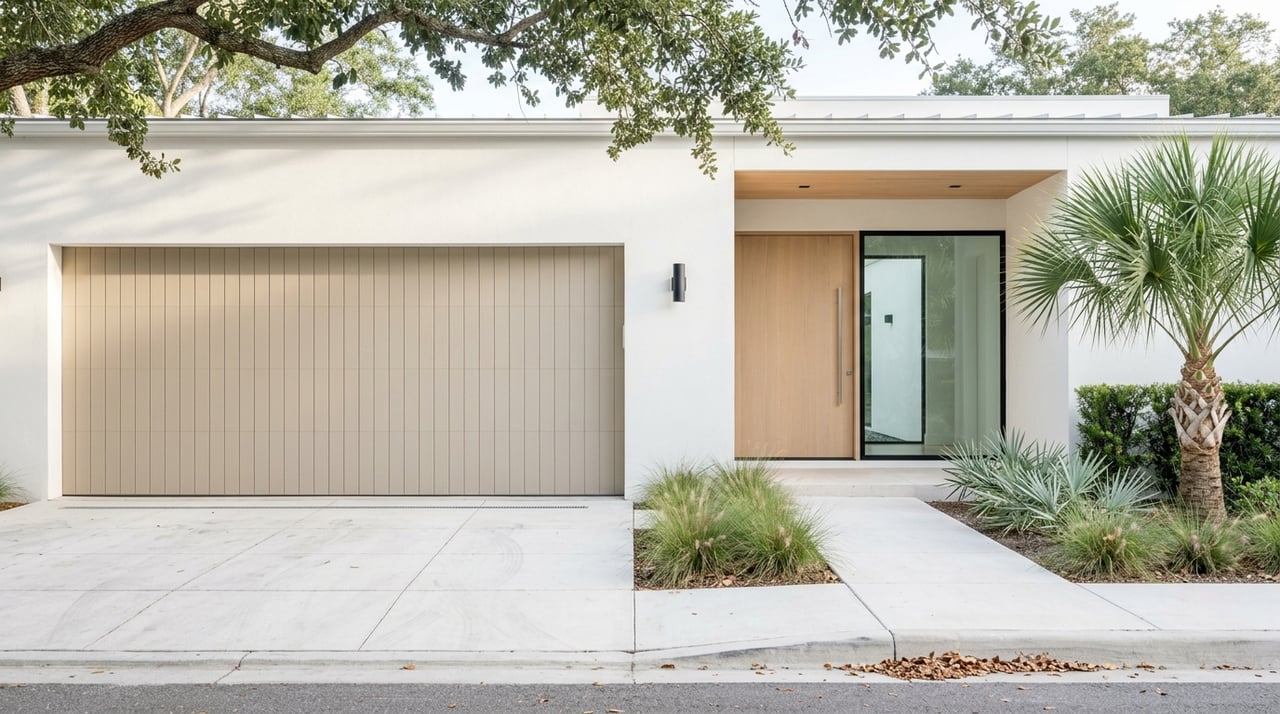
Exterior and site
- Siding and stucco
- Check for cracks, nail pops, or areas needing finish work.
- Roof and gutters
- Look for consistent shingle installation and secure flashing and gutters.
- Driveway and sidewalks
- Inspect for cracks or potential trip hazards.
- Lot grading and drainage
- Confirm water flows away from the foundation, check for standing water after rain if possible.
- Landscaping and irrigation
- Verify sod installation, irrigation head placement, and timer operation.
- Exterior finishes
- Inspect paint, trim, screens, and patio enclosures.
- Garage
- Test opener, sensor alignment, weatherstripping, and look for slab cracks.
- Pool or outdoor features, if present
- Confirm equipment operation, safety fencing, and final inspections are completed.
Common punch‑list items in Nocatee builds
- Door or window alignment and sticking.
- Paint touchups and trim gaps.
- Tile grout or caulk inconsistencies and cracked tiles.
- Cabinet adjustment and hardware alignment.
- Missing or miswired outlets or switches.
- Loose plumbing connections or slow leaks at fixtures.
- HVAC registers needing sealing or adjustment, and filter access issues.
- Exterior stucco cracks or finish touchups.
- Grading issues that cause puddling near the foundation.
- Garage door sensor alignment or opener programming.
- Community items like mailbox or house numbers awaiting install.
- Appliances not fully connected or not operating to spec.
Managing the punch‑list and warranty
- Expect a written punch‑list with target completion dates. Minor items are often handled within days or weeks, while complex items are scheduled.
- Confirm in writing what will be completed before closing and what will be done after move‑in. For post‑closing items, get dates and contacts.
- For remote buyers, ask for dated photos or videos showing each punch‑list fix and any updated permit or inspection signoffs.
- Review your new‑home warranty. Many builders use a one‑year workmanship and materials period, a two‑year mechanical systems period, and a ten‑year structural period, but terms and start dates vary. Confirm the start date in writing and keep copies of all warranty and appliance documents.
Remote buyers: how your agent advocates
If you cannot be on site, your agent becomes your eyes, ears, and advocate. They coordinate inspections, record high‑quality video, and push for clear timelines and documentation from the builder. They also escalate safety or code‑related concerns to builder management and guide you through dispute resolution steps if needed.
Before construction starts
- Set a clear communication plan with your agent detailing which visits will be live and which will be recorded.
- If you cannot attend closing, arrange power of attorney or remote signing with your title company early.
- Pre‑hire an independent inspector for pre‑drywall and final walkthroughs.
Video and documentation standards
- Record continuous, high‑resolution video in landscape format with date and address stated aloud.
- Capture high‑resolution photos of each room and every flagged issue, with close‑ups and wide shots for context.
- Organize everything in a shared cloud folder with sections for Pre‑Drywall, Final, Punch‑List, Warranties, and Permits.
- Use a punch‑list template with item, location, date, photo or video link, responsible party, and completion date.
Requests and escalation
- Ask the builder for MEP subcontractor names and inspection signoffs. If unavailable, request a written plan and timeline.
- Escalate unresolved or safety‑related items to the construction manager and request written responses.
- If completion stalls, document all communications and ask about options like extended warranty coverage, escrow holdbacks, credits, or third‑party remediation per your contract.
- Confirm all permits are closed and the Certificate of Occupancy is issued before possession, as your contract allows.
Remote closing basics
- Confirm your title company can support remote closing and notarization methods allowed by your lender.
- Decide how keys, warranty packets, and manuals will be delivered to you.
- Request a final move‑in video immediately before possession to verify condition.
Practical timelines and costs
- Independent inspections: a pre‑drywall inspection often carries a higher fee than a standard resale inspection due to specialized checks. Final inspections are typically similar to a standard inspection. Ask local inspectors for quotes.
- Punch‑list completion: minor cosmetic items are often completed within days or weeks, while complex items may require scheduled follow‑ups.
- Records: permits and inspection results are public in St. Johns County, so build time into your schedule to review them.
Your next steps
- Book two inspections: one pre‑drywall and one final.
- Ask your agent to pull permit and inspection logs and to confirm the Certificate of Occupancy before closing.
- Use the checklists above to document everything with dated photos and video.
- Confirm your warranty coverage, start date, and contacts in writing.
If you want a local, hands‑on advocate for your Nocatee build, connect with The Coastal Home Group. Our neighborhood‑focused team supports on‑site and remote buyers with checklists, video documentation, and clear communication from contract to keys.
FAQs
What is a pre‑drywall walkthrough for a Nocatee new build?
- It is an inspection after framing and rough‑ins but before insulation and drywall, where you document hidden systems like wiring, plumbing, HVAC ducts, and structural connections.
How close to closing should I schedule my Nocatee final walkthrough?
- Aim for as close to closing as your builder will allow, often within a few days, so new issues are less likely to appear between walkthrough and signing.
Which records can I request in St. Johns County for my Nocatee home?
- Ask for permit history, rough‑in and final inspection logs, and the Certificate of Occupancy. These records are public and help verify the home’s status.
What if the builder cannot finish my punch‑list before closing in Nocatee?
- Get a written timeline and contacts, and consider options like credits, escrow holdbacks, or delaying closing for safety or code items, per your contract and closing attorney’s advice.
When does my new‑home warranty start on a Nocatee build?
- Start dates vary by builder and can be tied to closing or the Certificate of Occupancy. Confirm in writing and save all warranty documents and manuals.